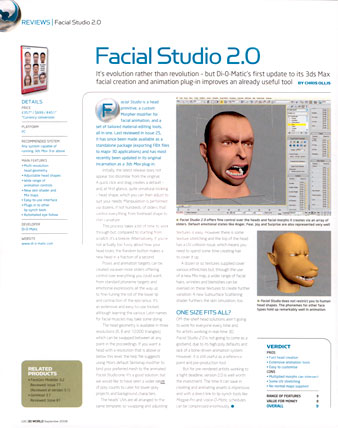
|
Facial
Studio is a head primitive, a custom Morpher modifier for facial
animation, and a set of tailored material-editing tools, all in
one. Last reviewed in issue 25, it has since been made available
as a standalone package (exporting FBX files to major 3D
applications) and has most recently been updated in its original
incarnation as a 3ds max plug-in.
Initially,
the latest release does not appear too dissimilar from the
original. A quick click and drag creates a default (and at first
glance, quite unnatural-looking) head shape, which you can then
adjust to suit your needs. Manipulation is performed via dozens,
if not hundreds, of sliders that control everything from
forehead shape to chin curvature.
This process
takes a bit of time to work through but, compared to starting
from scratch, it’s a breeze. Alternatively, if you’re not
actually too fussy about how your head looks, the random button
makes a new head in a fraction of a second.
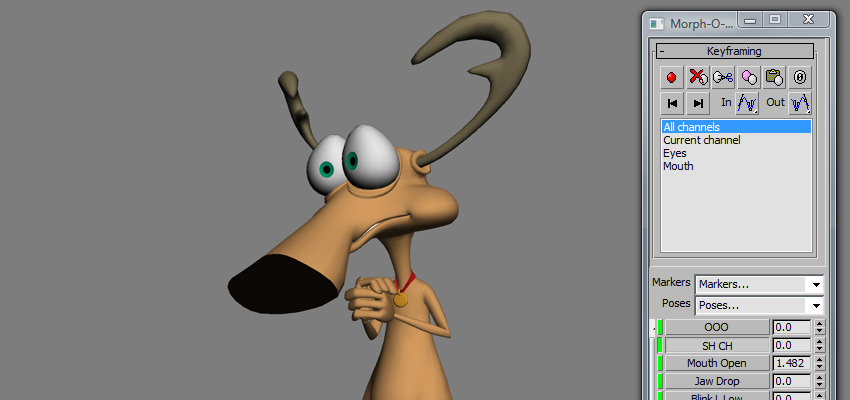
Poses and
animation targets can be created via even more sliders offering
control over everything you could want, from standard phoneme
targets and emotional expressions all the way up to fine-tuning
the roll of the lower lip and contraction of the epicranius.
It’s an extensive and easy-to-use toolset, although learning
various Latin names for facial muscles may take some doing.
The head
geometry is available in three resolution (6000, 8000 and 10 000
triangles) which can be swapped between at any point in the
proceedings. If you want a head with a resolution that is above
or below this level, the help file suggests using Max’s default
SkinWrap modifier to bind your preferred mesh to the animated
Facial Studio one. It’s a good solution, but we would have seen
a wider range of poly counts to cater for lower-poly projects
and background characters.
The heads
UVs are all arranged to the same template, so swapping and
adjusting textures is easy. However there is some texture
stretching and the top of the head has a UV collision issue,
which means you need to spend some time creating hair to cover
it up.
A dozen or
so textures supplied cover various ethnicities but, through the
use of a new Mix map, a wider range of facial hairs, wrinkles
and blemishes can be overlaid on these textures to create
further variation. A new Subsurface Scattering shader furthers
the skin simulation, too.
One size
fits all?
Off-the
shelf head solutions aren’t going to work for everyone every
time and, for artist working in real-time 3D, Facial studio 2.0
is not going to come as a godsend, due to its high poly defaults
and lack of bone-driven animation system. However, it is still
useful as a reference point and pre-production tool.
But for
pre-rendered artist working to a tight deadline, version 2.0 is
well worth the investment. The time it can save in creating and
animating assets is impressive, and with a direct link to lyp-synch
tools like Magpie Pro and Voice-O-Matic, schedules can be
compressed enormously.
|