|
|
 |
-
MOM’S
THE WORD
CGI MAGAZINE - August 2001 |
 |
|
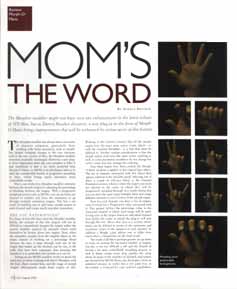  |
The Morpher modifier might not have seen any
enhancement in the latest release of max, but as Darren Brooker
discovers, a new plug-in called Morph-O-Matic brings
improvements that will be welcomed by serious users of this
feature.
|
The
Morpher modifier has always been a favourite of character animators,
particularly those working with facial animation, such as myself. Despite
sweeping changes to the core character tools in the new version of max
that everyone greeted with great enthusiasm, the Morpher modifier remained
essentially unchanged. However, a new plug-in from Digimation takes the
core morpher in max 4 and transforms it into a way more powerful tool.
Morph-O-Matic, or MOM as its developers refer to it, adds the considerable
benefit of progressive morphing to max, which brings much smoother more
controllable results.
|
Max’s
out-of-the-box Morpher modifier animates
between the morph targets by adjusting the percentage of blending between
the targets. With a progressive morphing system such as MOM, you can go
from one channel to another and force the animation to go through multiple
animation targets. This has a net result of enabling you to add many morph
targets to each channel and create much smoother animation.
|
For
those of you who have used the Morpher modifier before the concept of this
new plug-in will not be difficult to comprehend: imagine the targets
within the current modifier replaced by channels which could themselves be
broken down into targets. Now when the animation morphs from the original
object to the target, instead of working on a percentage blend between the
two, it steps through each one of the targets that makes up the channel,
one by one, in the order they have been organized, thus ensuring this
transition is as controlled and smooth as it can be.
|
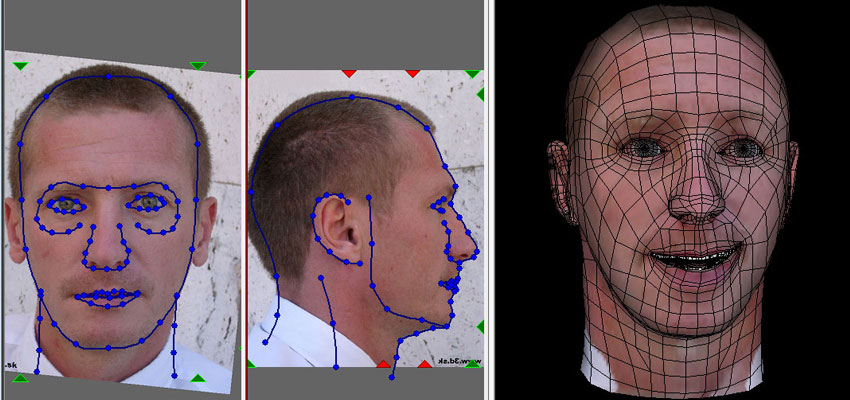
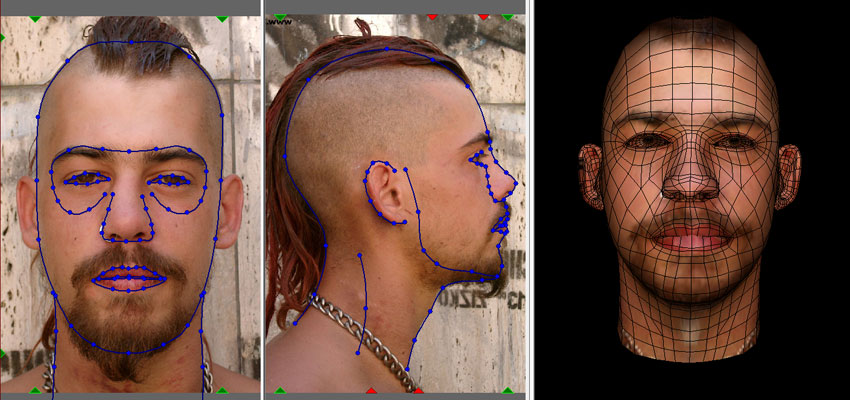
Setting
up the MOM modifier works in much the same way as when working with
max’s Morpher, with the base object created first, and the range of
morph targets subsequently made from copies of this. Working
in this manner ensures that all the morph targets have the exact same
vertex count, which, as with the standard Morpher, is a rule that must be
adhered to. Another similar consideration is that the morph targets must
have the same vertex ordering as well, as some parametric modifiers do not
change the vertex count, but may change the ordering.
|
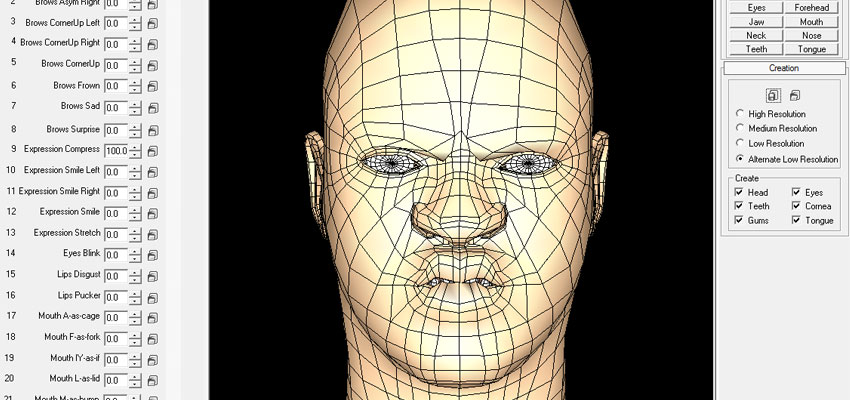
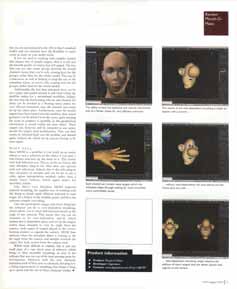
Once
these targets have been created, the Morph-O-Matic modifier is applied to
the original base object. The list of channels associated with this object
then appears topmost in the modifier panel. Selecting one of these, a
couple of rollouts below is the Channel Parameters section, which is where
the
targets you want are selected in the order in which they will be
progressively morphed through. It is worth noting that you can select the
same target multiple times and assign different amounts to each version of
the morph target.
|
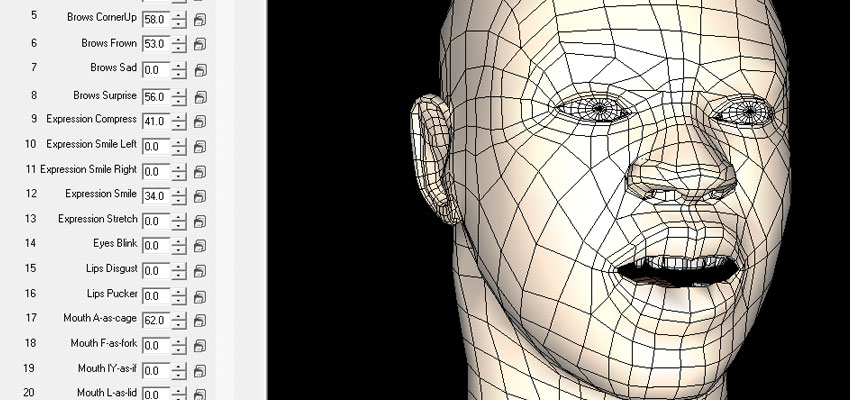
Now
for each channel you have a list of targets, each of which has a
Progressive value associated with it. This spinner defines the percentage
value in the associated channel at which each target will be used. Giving
each of the targets listed in for an individual channel now defines the
order in which the plug-in will step through this list. Above this area is
a section where limits can be defined in terms of the minimum and maximum
values of the spinners in each channel. In addition a Weight value allows
one to differ how much effect a channel has on the final result.
|
The
result of all this is perhaps greater set-up times in terms of creating
the increased number of targets, but this is not too difficult a job, and
the benefit of having a far more controllable morphing process and much
better results more than justifies this extra effort. In terms of the
number of channels and targets per channel that MOM allows, the developers
claim an unlimited amount. In reality this is not quite true, as the
number is restricted by your system’s capabilities, but you are not
restricted by the 100 in max’s standard toolkit, and you certainly have
the flexibility to easily create as many as your model needs.
|
If
you are used to working with complex models that require lots of morph
targets, then it is not just the smooth quality of output that will
appeal. The fact that you can also create groups between the morph
channels means that you’re only creating keys for the groups, rather
than for the whole model. This can be a time saver as well as helping to
keep the size of the animation down, as you’re only creating keys for
the groups, rather than for the whole model.
|
Additionally,
the fact that animation keys can be cut, copied and pasted around at will
from within the modifier makes for a streamlined workflow. Indeed, the
fact that the Keyframing rollout and channel list alone can be invoked as
a floating menu makes for very efficient animation once the channel and
target set up has taken place. Furthermore, once the morph targets have
all been loaded into the modifier, their actual geometry can be deleted
from the scene, again keeping the scene as compact as possible, as this
geometrical information is actually stored within the base object. These
targets can however, still be extracted at any point, should the targets
need modification. They can then simply be reloaded back into the modifier
and deleted again without the whole set up process having to be done
again.
|
Since
MOM is a modifier, it can work on an entire object or just a selection of
the object if you pass a Sub-Object selection up the stack to it, and this
works with Soft Selection too. This is, as far as I know, the only Morpher
plug-in for max that can operate with soft selections. Indeed, this is the
only plug-in that calculates its morphs can be set to use a cubic spline
interpolation method, rather than in a simple linear fashion, which again
makes for smoother results.
|
Like
max’s own Morpher, MOM supports material morphing, the simplest way of
working with this being to simply apply different materials to each
target, hit a button in the modifier panel, and have the software compile
everything.
|
One
last particularly unique and clever thing that the software can do is
view-dependent morphing, which allows you to cheat
deformations based on the angle of any cameras. This means that you can
set channels to be view-dependent, specify which camera this is dependent
upon, and set up the targets within these channels to vary by angle from
the camera, with copies of targets placed in the correct looking posture
as regards the camera. MOM then analyses when the morphed object is coming
to the set angle from the camera and morphs towards the copies that look
correct from the camera view.
|
| Whilst fairly difficult to
explain, this is just one small piece of a very clever piece of software,
which brings to max incredible morphing, an area of the software that was
not one of the most pressing areas for development. However, with the core
character animation tools of max now so very advanced, this plug-in is a
fitting improvement to morphing, that brings it bang up to speed with the
rest of max’s incredible character toolset. |
| |
|
Written by Darren Brooker,
CGI
Magazine, August 2001 Issue |
|
|